| Publicly available real-time pbr tools are already here and wait for next gen engine development kits is way smaller than you might think. I’m gonna repeat myself here, but nothing dramatic happened/happens to be honest. For us, artists, the difference in production is trivial. With a few simple rules and a tiny bit of practice you’re going to be making physically accurate art in no time. While the updated rendering will be working hard to make your art look as good as ever. 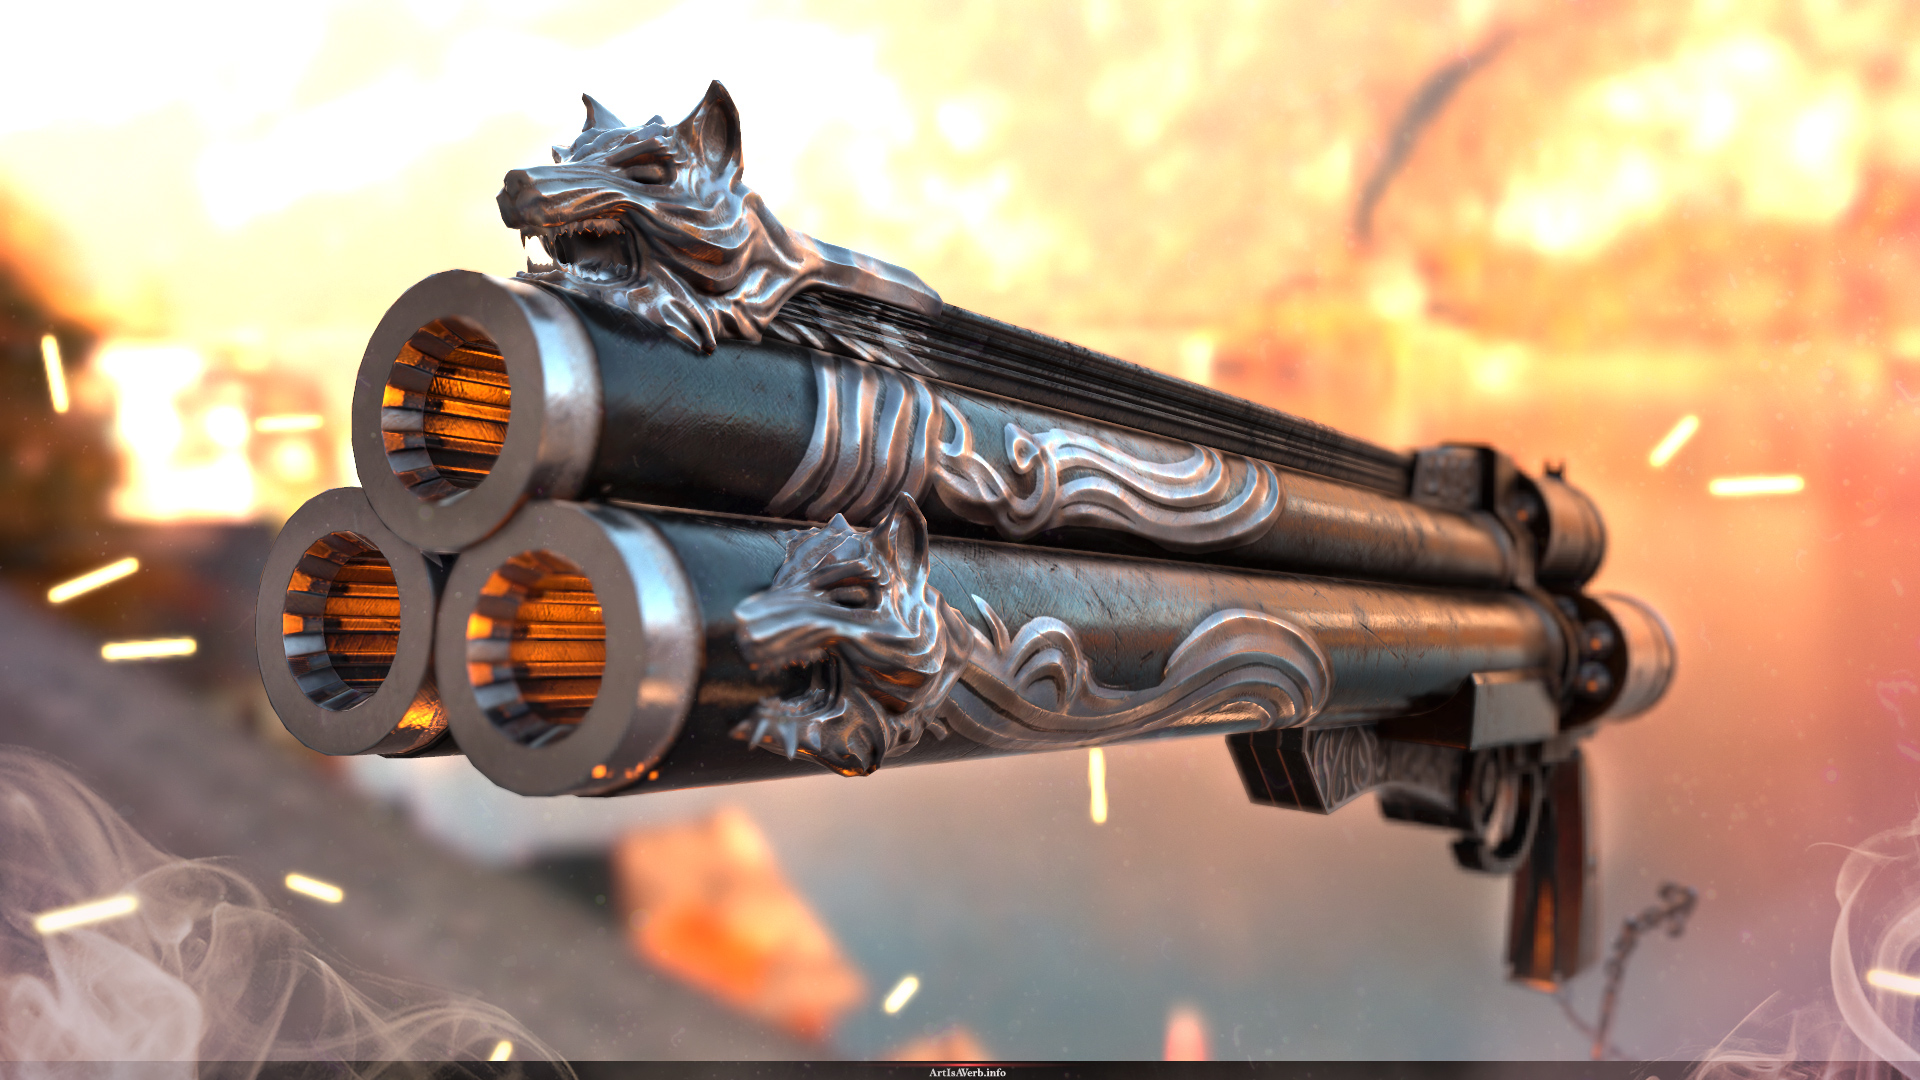
You want to familiarize yourself with the theory behind PBR rendering feel free to check out my previous PBR tutorial. In the meantime let’s go ahead and take a look at the maps we’re going to be producing for next gen engines: Albedo 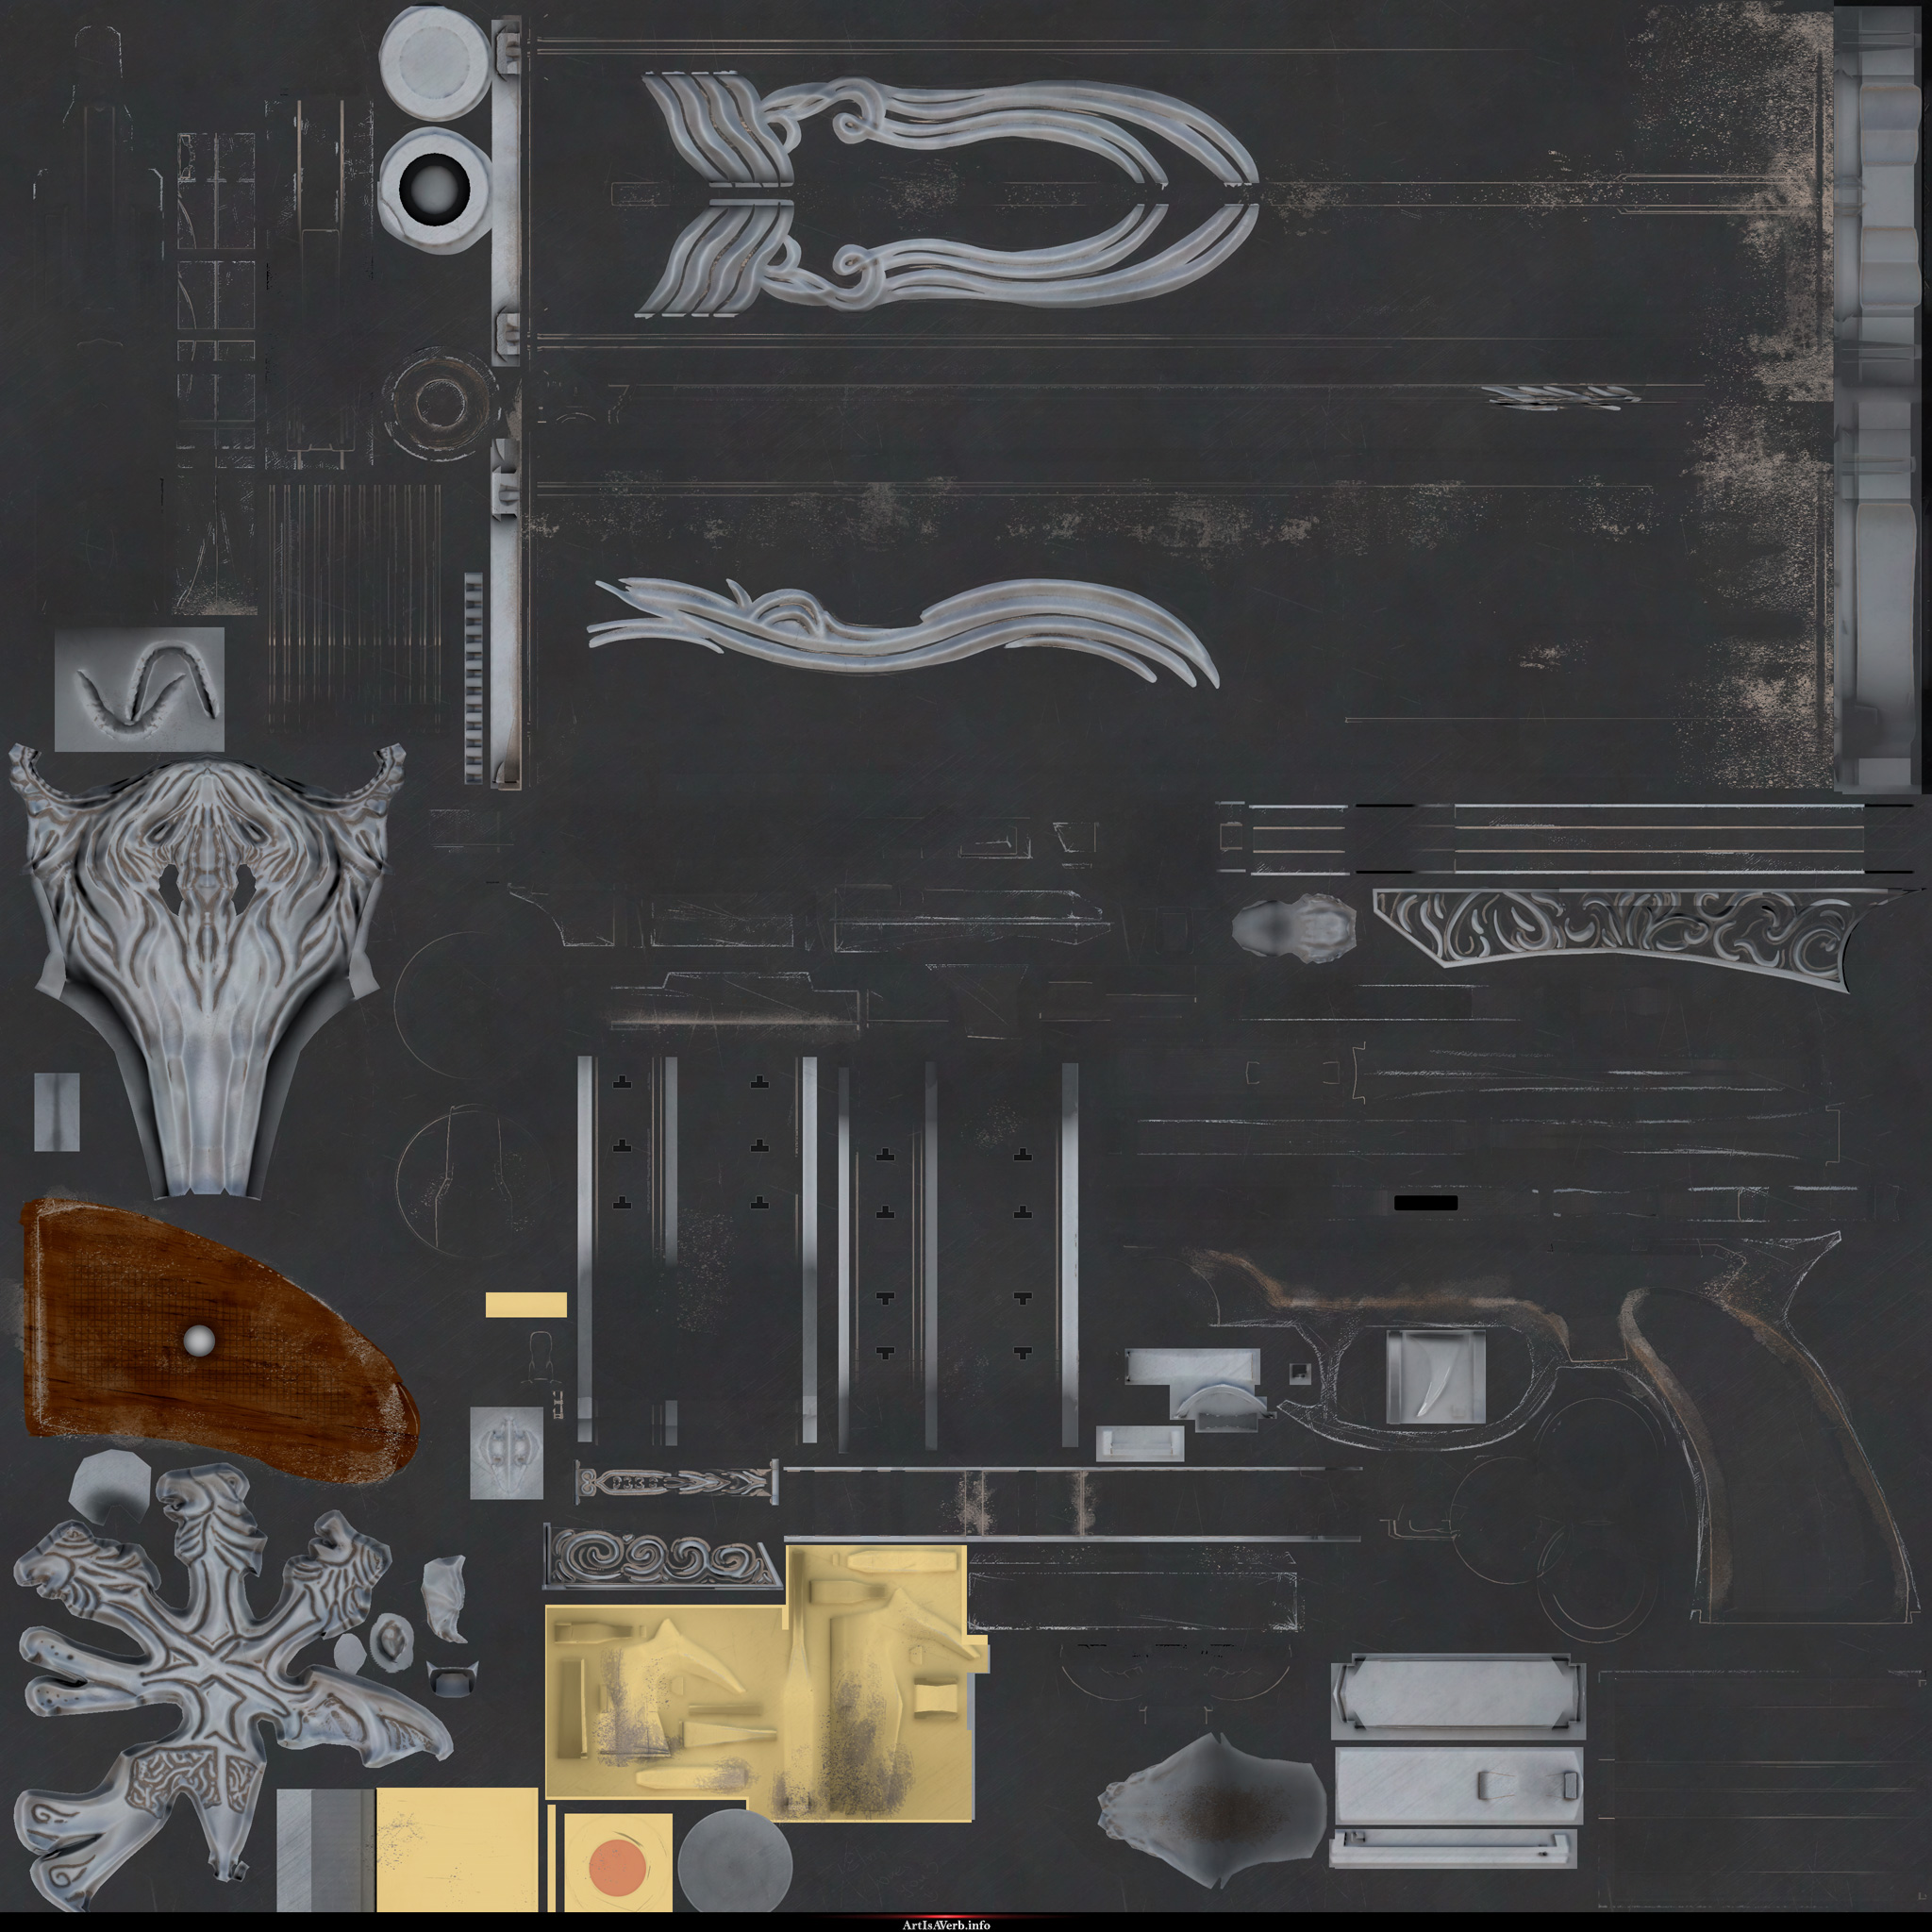
Albedo Map Example In a perfect case scenario Albedo is the amount of light reflected back from the surface under neutral lighting conditions. Unlike Diffuse no shadows or highlights are supposed to be present. The more we can allow to simulate at runtime the less we need baked into the base color map of our materials. Current gen albedo maps will have to have 3 things: - Minimized ambient occlusion - some studious go as far as painting out anything that has to do surface shadowing while others keep some amount of ao in. It really very much depends on how good your screen-space ambient occlusion and self reflection is. If it’s not doing the job feel free to crank it up. - Removed Specular Contribution - all source material is preferably to be shot with a polarized lens to nullify any light rays coming directly into the lens. Or you can remove the highlights in photoshop if any are present. - Neutral lighting - since for most source material we would have to go outside to shoot, we can’t really control the lighting conditions. But shooting unprocessed(.raw) images we can later recalibrate our lighting to be neutral with the help of Macbeth Charts. To be honest this a quite convoluted and time-consuming step, so many studious skip it all together. Alternatively, preview your textures under varying lighting conditions to see if the hold up well. That is the goal behind neutral lighting source in the first place. If it looks good enough - it usually is good enough. 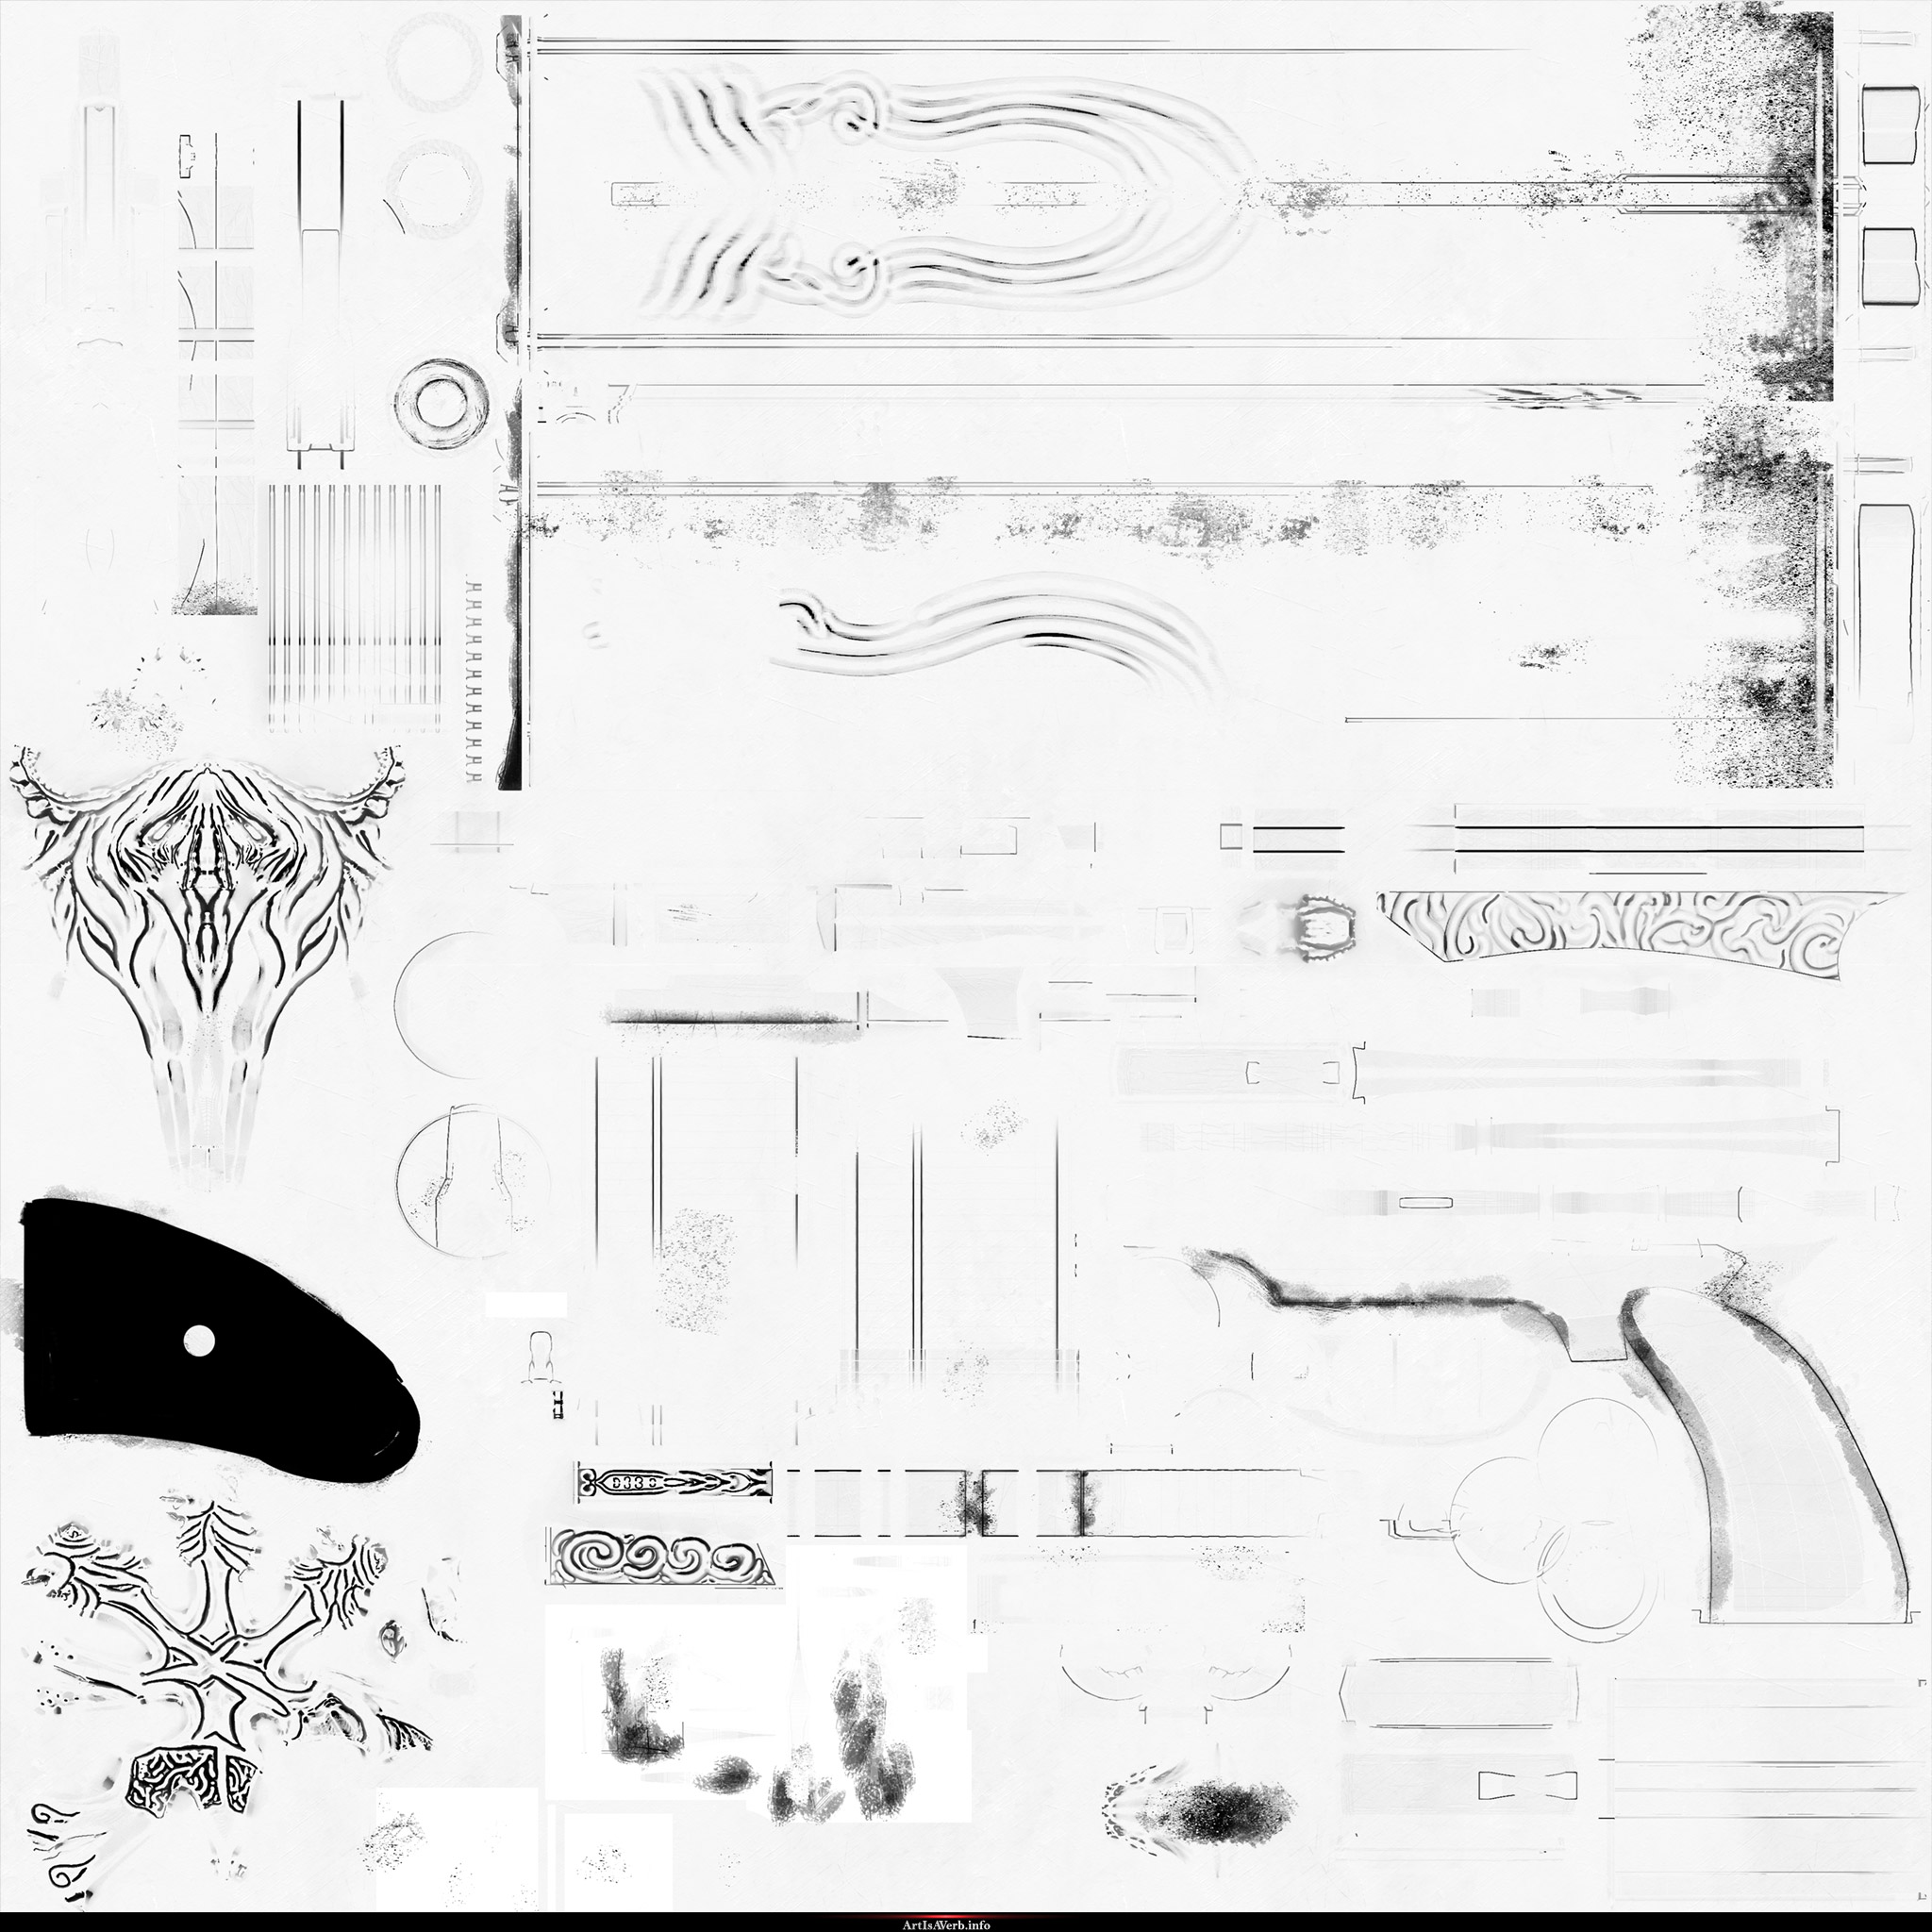
Natural evolution of real-time graphics finally brought us to a point where specular highlight approximation system that we used to have is no longer necessary. We have reflections now. First of all you have to remember that specularity/reflectivity you define in PBR engines is at facing angles only. Everything has Fresnel reflections now so your surface’s reflectivity is going to increase the more grazing the viewing angle becomes relative to the surface normal. If you have any questions about this part please refer to me PBR theory video. Now depending on your engine there are 2 ways things can go with specularity: 1) - You still go with the specular texture. Most of your dielectrics on this texture will be confined to a the range of [0,04 to 0,08] and your metals are going to be starting somewhere around 0.6. For most of the metals you will also be using carefully measured values provided by your technical artist( or the internet! ) thanks dontnod - You will either have to manually keep track of energy conservation between your Albedo and Specular: A + S <= Amount of Incoming Light, or your programmers will have to hook something up for you to “renormalize” the lighting energy in your textures. - You might have to multiply your specular texture by your AO depending on how good your screen-space AO and self reflection is. Right now more often than not reflections are calculated with “light probes” that don’t provide enough fidelity for self masking and self reflection, so you end up with shiny recesses all around your model. And this is something you have to compensate for with your AO. 2) - You ditch the Specular texture and go with Metallic texture instead. Metallic is as straightforward as it sounds: objects made out of metal are generally white on this texture and dielectric are black. Grey values would usually be reserved for transition between layered materials like say dirty metal. I personally like this set-up ‘cause it is very straightforward and leaves little room for ever. One this you have to remember(if you’re making a realistic game) is to never fudge the Metallic values just because you think it’s going to look cool. It usually doesn’t. If the material is not a metal - paint it black. You’ll have plenty of other maps to be creative with. Also if your asset is made completely out of dielectrics, which happens often enough, you don’t need a specular/metallic map altogether and can go by with just a float value instead of map. And finally don’t forget that the more metallic your surface gets the closer to black your albedo contribution becomes. For explanation please refer to my “theory behind PBR” video. Whatever situation you end up in regarding specular/metallic please remember that no high or mid frequency details is supposed to be in these textures. You only define the types of materials present in your surface with almost flat values and all the major mid to small variation is going to happen in the Roughness Map. 
Roughness Map Example Now some engines will Roughness and some Glossiness. Both are essentially the same thing only one of them is reversed, depending on your preference. Now some artists like to claim that Glossiness is “more logical” because black would mean darker or no reflection whereas white would be brighter or shiny reflection, which is actually not the case. It’s perfectly possible to go black with your glossiness and end up with a brighter object depending on your lighting environment: 
Once again, I, personally, don’t like the old way of thinking and personally prefer Roughness just to help people snap out of it. Darker or Brighter Glossines/Roughness map has nothing to do with the brightness of your object. All you’re describing with these maps is how blurry the reflection is based on your surface’s micronoise. One other interesting thing about Roughness/Glossines is that unlike the other maps, where we would like to get rid of the AO, adding/multiplying it here might actually be logical and help make your assets pop. Since it is logical to assume that your objects are “brushed” more on their most protruding parts, it means that making them rougher where AO is might actually make perfect sense. Once again it all depends on the specific artistic effect you’re going for, but just keep in mind that it is an option. : ) 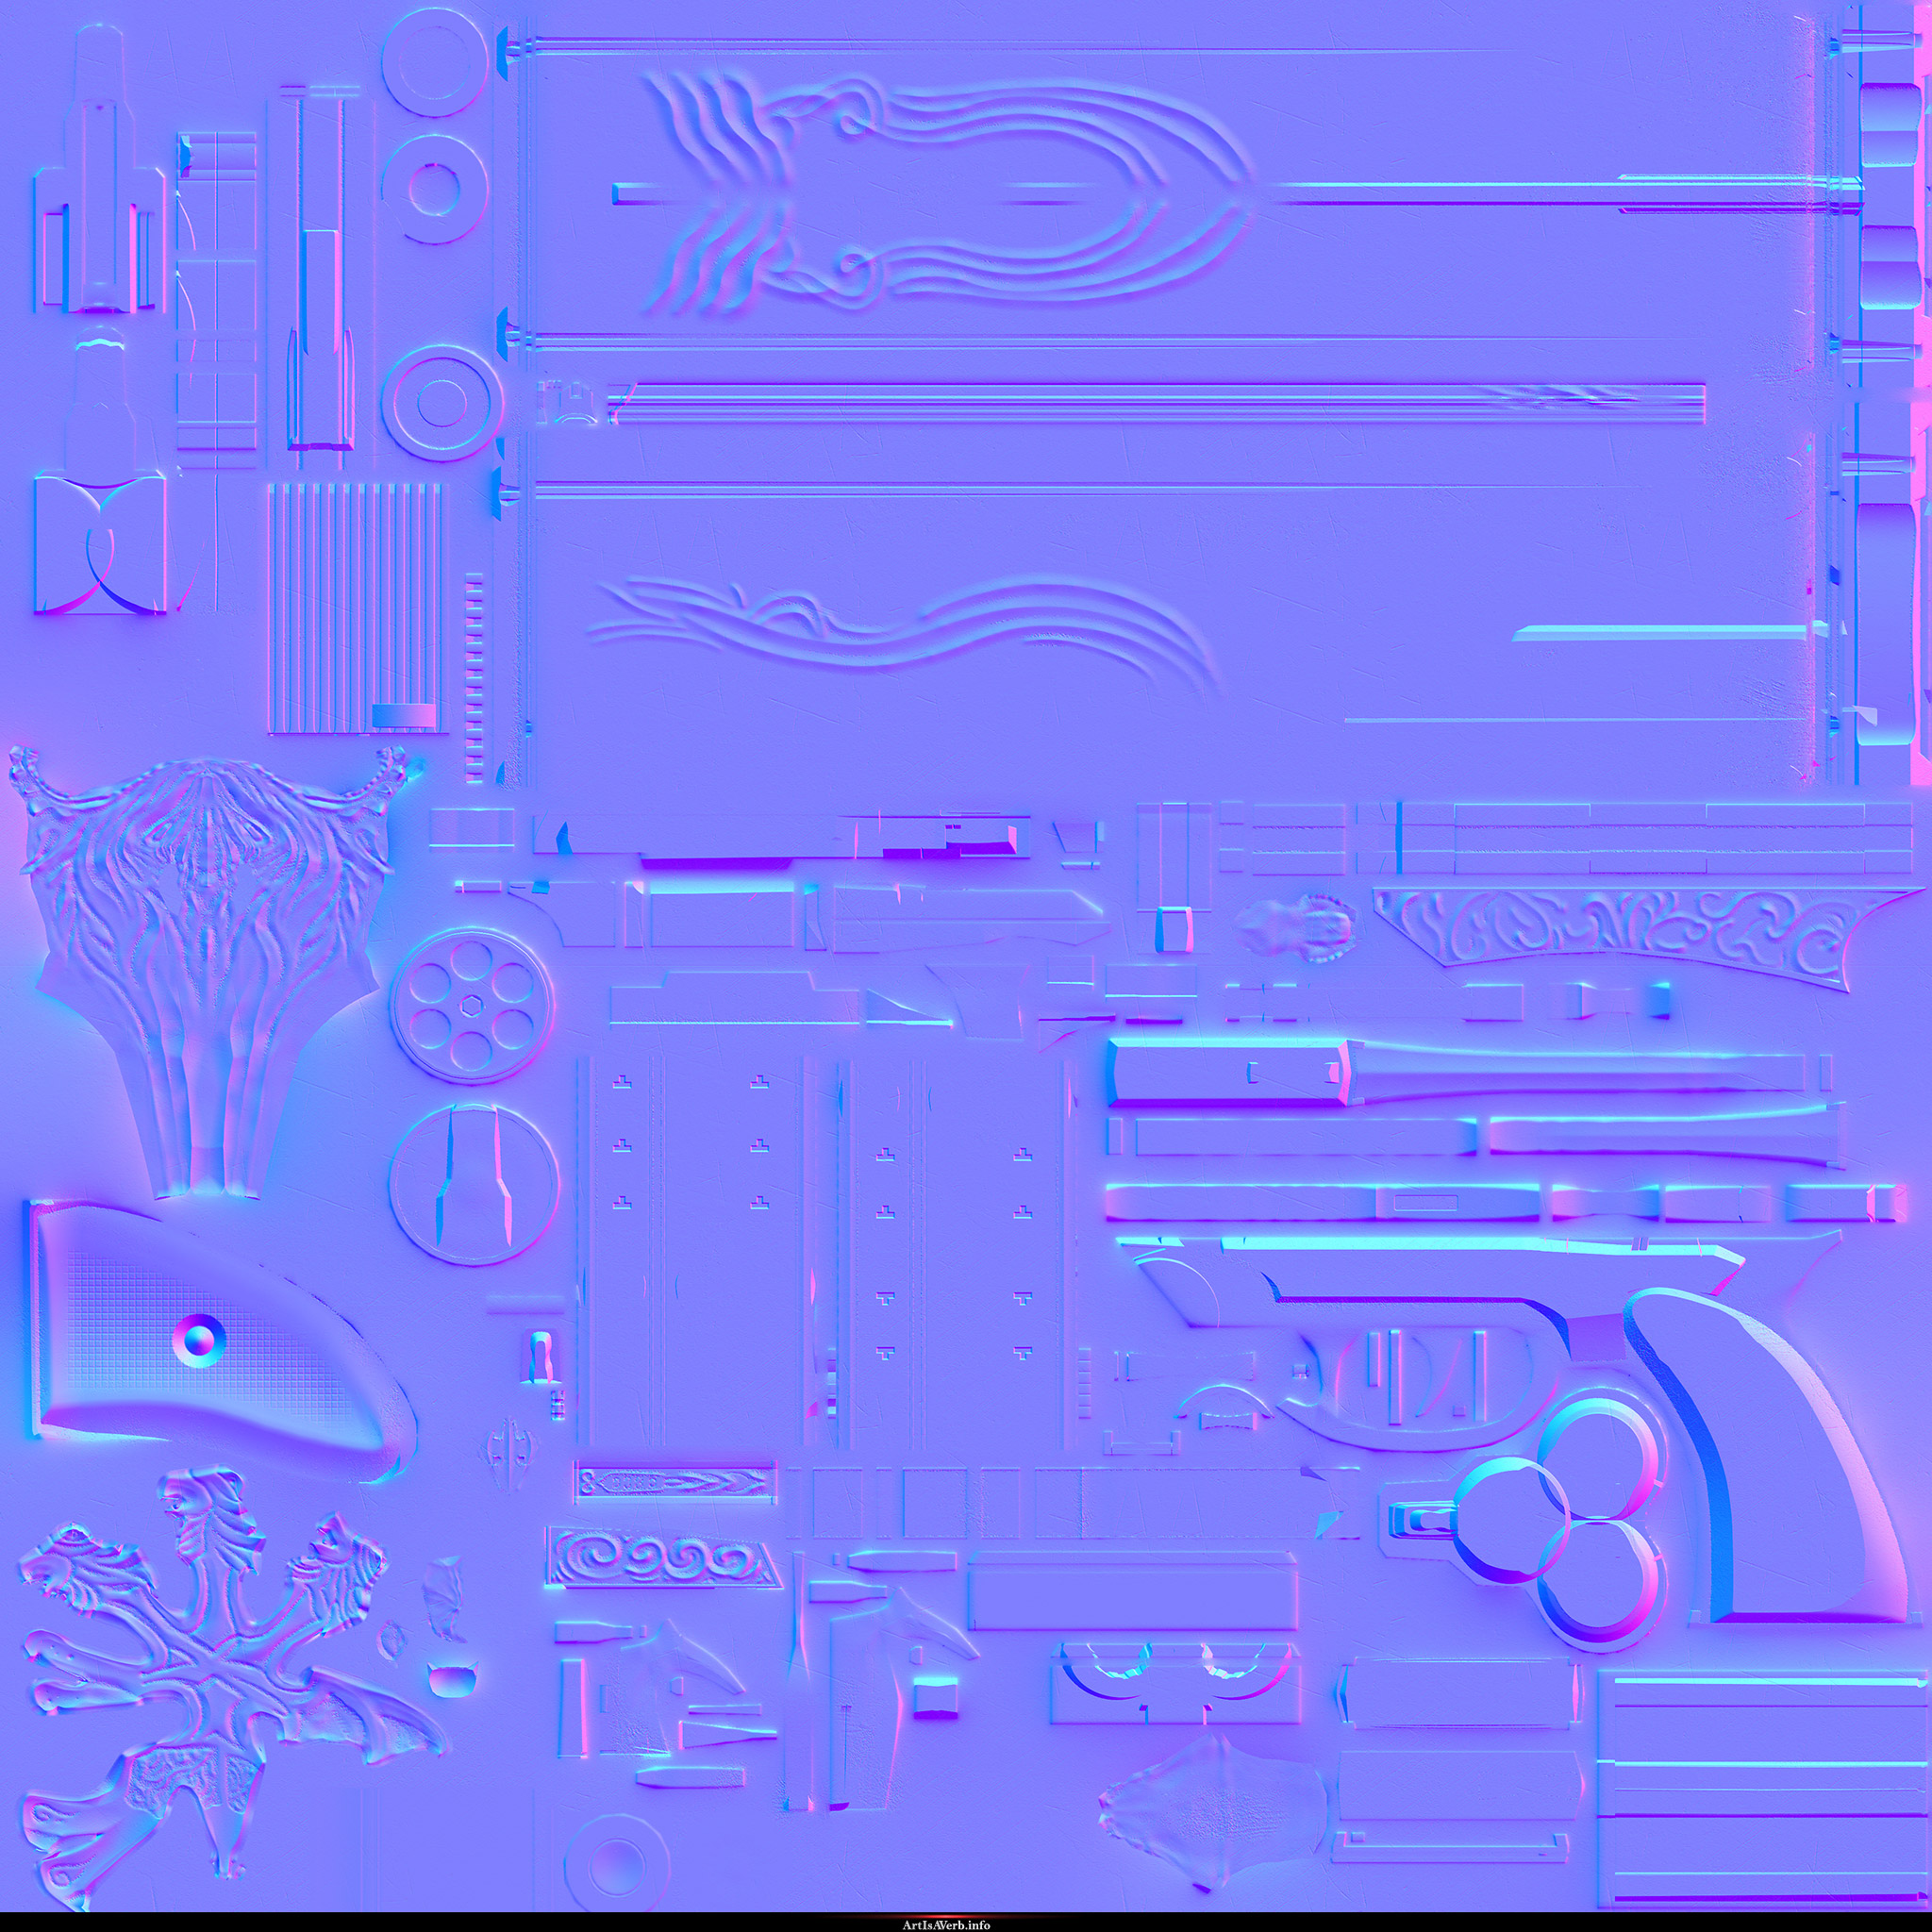
Normal Map Example I hope this few examples gave you enough of an idea on how to manipulate the values available to you to get different kind of results. If not feel free to drop me a line ; ) Now go makes something pretty! |
All text and artwork (c) Andrew Maximov unless stated otherwiseze